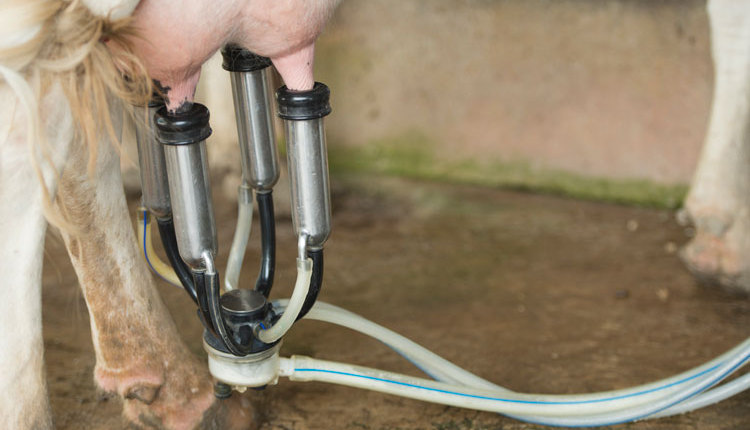
On a recent early morning farm visit, it was noted that new claws and liners had been installed in this double-12 parallel parlor. After being in the parlor for a while, it was also noted that cows were stepping and kicking more than was typical during milking for this herd. We started a vacuum recording on the milkline, which was below the cow level in this parlor. We were very surprised to see the vacuum level at 14.4 inches Hg. Why was the vacuum level this high when it had been 2 inches Hg lower on our previous visit six months prior?
Unfortunately, this scenario is not uncommon on the dairies that we evaluate, and depending on the situation, it might have been this way for quite a while with no one noticing it. In previous articles, we have talked about how you would determine what is the appropriate system vacuum for your herd by measuring the average claw vacuum at peak milk flow rate on at least 10 cows. The claw vacuum data is then used in combination with farm goals and recommendations from your liner manufacturer to set an appropriate system vacuum level to achieve the desired claw vacuum. In this article, we are only going to focus on why we should monitor system vacuum over time and how to do this successfully on your farm.
Vacuum Goldilocks
What is the risk of milking at a system vacuum that is too low or too high? If vacuum is low for the liner being used, milking speed will be slower, and it may also affect the massage phase on the teat. If vacuum levels are too high, it can heighten the risk of teat damage and affect liner positioning on the teat. Furthermore, the cows can get unhappy when vacuum levels are too high, and thus might step and kick at the unit.
I recall a dairy that requested help with a milk quality problem but insisted that we not show up during milking as the cows were “too wild.” We showed up at the end of milking just in time to check the milkline vacuum, which was 21 inches Hg. This was 7 inches Hg higher than the farm intended. What a difference it made in the “wild” cows when the vacuum level was corrected to proper levels.
Action steps
How can you avoid putting your farm in these situations? Our recommendation is to work with your equipment dealer and install a vacuum gauge that is separate from any part of the vacuum regulation. This facilitates a double-check of what the vacuum level actually is on your dairy. Ideally, this vacuum gauge would be near the receiver jar and in a visible spot. Depending on your preference, it can be a digital or a dial gauge. For a digital gauge, write the desired vacuum in a visible spot near the readout to allow a quick double-check if the vacuum is correct. For a dial gauge, take a permanent black marker and draw a line at the desired vacuum level, which allows an easy check if the needle is at the black line or outside of range.
At the start of each milking, the lead milker should check this vacuum gauge and, if possible, record the vacuum level in a logbook with the time and date. The recording step improves accountability and ensures that it is being done at the start of each milking. Management should check up on this logbook once per week to make sure that it is being filled in by the milkers. Of course, the lead milker also needs to be trained that in the event the vacuum level is not where it is supposed to be, they immediately alert management so the problem can be corrected.
Pre-milking check
This pre-milking time is also a good opportunity to check a few other basic items in the parlor. Confirm that all liners are properly aligned in the shell, all claw and liner vents are open, all pulsators are functioning enough to collapse the liner if a finger is inserted, and listen for any unusual air leaks. Another pre-milking step is a double-check of the milkhouse to make sure the pipe is in the tank, any necessary valves are switched or plugs changed, and that the tank cooler is turned on.
Back to our double-12 parallel parlor: After checking our unit and switching to a second unit to confirm the level, we started looking for the farm vacuum gauge. There was a dial vacuum gauge near the receiver jar, which was reading approximately 13.9 inches Hg. We also walked to the variable frequency drive (VFD) controller, and the set point and vacuum read-out on the VFD were both set at 12.3 inches Hg. This proves the reason why you should not only rely on a vacuum read-out on a VFD but instead have a separate gauge. This farm did have a separate gauge, but unfortunately it was not part of the pre-milking protocol to check it. The dealership for this farm was contacted and they came out and corrected the problem so vacuum was again truly at 12.3 inches Hg on the milkline.
We hope our experiences outlined in this article have inspired you to implement a pre-milking routine that includes a check of the vacuum level using a separate vacuum gauge. This should help control one of the critical aspects of successfully milking your cows. Good luck — your cows will thank you.


